PRO
6 min read
How to Prepare Bread? Sourdough and Yeast Bread… How to Make a Sourdough Starter for Bread?

Oliwia Kaczmarek
✓
Diets Premium Expert • 25.09.2026
✓
Scientifically reviewed by a clinical dietitian:
This article has been peer-reviewed for adherence to IŻŻ, WHO, and PTGiP clinical nutritional standards.
| Diets Premium Expert Oliwia Kaczmarek | min read 6 min | Scientifically reviewed by a clinical dietitian 25.09.2026 |
Smart Voice
•Listen to the article content live
0:00
/
0:00
Key Takeaways
Bread is a product that was consumed in quantities of more than 45 kg per person according to the GUS ranking in 2015. Unfortunately, we are reaching for this food item less and less frequently over time, mainly due to changing taste preferences. Nevertheless, bread remains one of the most popular choices in stores. Unfortunately, a large portion of the bread offered by supermarkets and even bakeries consists primarily of a mixture whose composition is not fully known. It is worth learning more about this topic and attempting to prepare bread independently, which will fill our home with an unparalleled aroma and an unparalleled taste.
Meal Plan
Want to apply these guidelines in your daily diet?
Our smart diet generator creates a tailored meal plan in 3 minutes based on the recommendations in this article.
PRO Content
PRO
This article is professional premium content (PRO) provided in its entirety.
The definitive guide to homemade bread baking: From ingredients to perfect aroma and texture
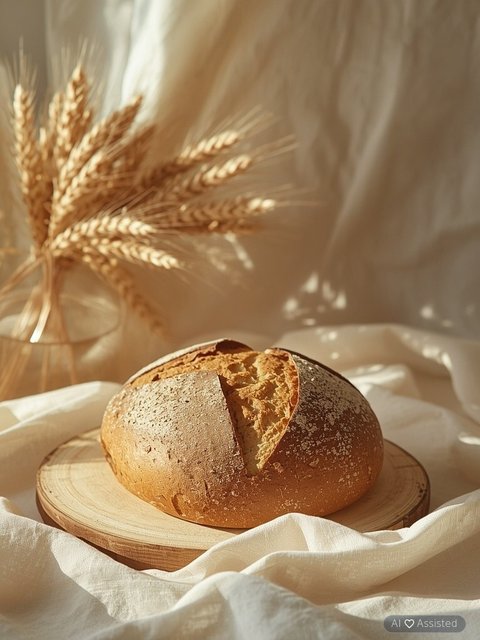
In response to the increasing prevalence of artificial additives in commercially produced bread, a growing number of individuals are turning to homemade baking as a healthier and more rewarding alternative. The primary advantage of this approach lies in complete control over the ingredients—from the quality of the raw materials to the absence of preservatives or flavor enhancers. Homemade bread is celebrated for its unparalleled taste and enticing aroma, which permeates the entire household, drawing in family members with its warmth. Knowledge about the craft can be sourced from a variety of mediums, including traditional cookbooks and online communities where passionate bakers share tried-and-tested recipes—ranging from classic variations to innovative creations enriched with unique additives. The foundational ingredients—flour, water, yeast or sourdough starter, and salt—serve as the canvas, while the possibilities for customization are virtually limitless. Dried fruits, nuts, seeds, or herbs can infuse the loaf with distinctive character. Black cumin (nigella seeds), in particular, is highly recommended not only for its aromatic depth but also for its health benefits, which elevate the bread’s nutritional profile. Opting for whole-grain, spelt, or rye flour increases fiber content and complex carbohydrates, making the bread suitable even for those managing diabetes. Precision is paramount during preparation, as any deviation from the recipe may compromise the final product. Key steps include gradually incorporating flour, thoroughly mixing ingredients (preferably by hand or with a wooden spoon), and allowing the dough to rest for approximately 20 minutes under cover. This resting period enables gluten relaxation, resulting in a smoother, more pliable dough that is easier to shape. Additional ingredients should be added only after this stage. Salt is introduced last, just before the dough is left to rise—longer rising times correlate with richer flavor development. Baking can be performed in a conventional oven or on a baking stone, which should be preheated for about 45 minutes to ensure optimal heat distribution. Once baked, the bread must cool completely at room temperature. This type of bread is also exceptionally well-suited for freezing, allowing for bulk preparation and long-term storage without sacrificing quality.
Homemade Yeast Bread – A Fundamental Recipe for Beginner Bakers
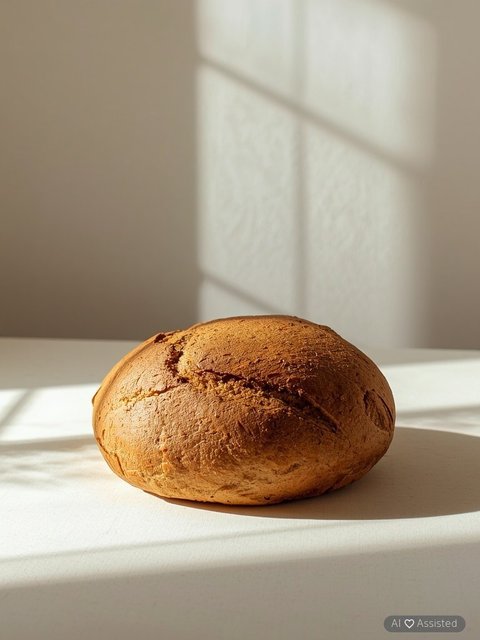
Baking fluffy, homemade bread necessitates the use of yeast—either fresh or dried (instant), the latter of which offers significantly greater convenience in terms of storage longevity and ease of use. When employing fresh yeast, it is essential to first prepare a pre-ferment, a process that may take up to twenty minutes. Unfortunately, a common pitfall involves the use of expired or low-quality yeast, which often results in failed bakes—especially if the water used for activation is excessively hot, thereby killing the yeast cultures and ensuring an unsuccessful outcome. For this reason, novice bakers are strongly advised to opt for instant dry yeast, as it is far more forgiving of minor errors. The following guide outlines the preparation of the simplest version of yeast-based bread, utilizing fundamental ingredients: flour (preferably whole-grain, spelt, rye, or graham—quantities vary based on desired loaf size: 250–500 g for a small bread, over 500 g for larger loaves adjusted to oven capacity), 2 teaspoons of instant yeast, a modest amount of salt (approximately 1 teaspoon per 250 g of flour), and warm water. The procedure involves blending the yeast with the flour, incorporating the salt, and gradually adding water until an elastic, uniform dough forms. The next critical step is shaping the dough into a ball and kneading it thoroughly by hand—a process vital for proper aeration and ensuring optimal rise. The final stage entails molding the dough into the desired shape, covering it tightly with plastic wrap, and allowing it to proof until it has at least doubled in volume. Baking is conducted at 220°C (428°F) until a skewer inserted into the center emerges dry.
Homemade Traditional Sourdough Bread from Whole-Grain Cereals
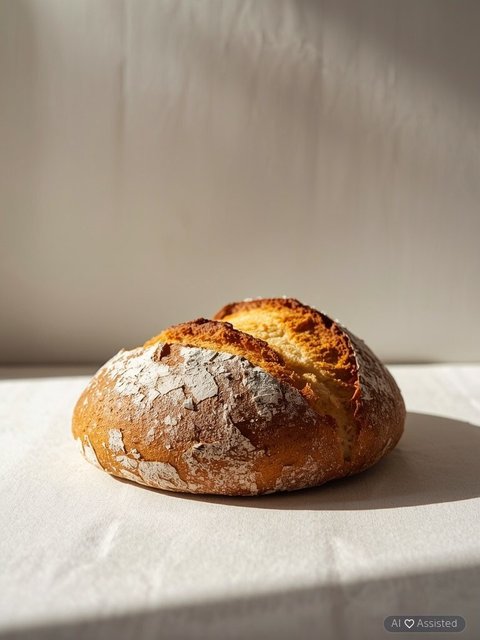
Bread crafted with a naturally fermented sourdough starter distinguishes itself through an unparalleled depth of flavor, a more pronounced taste profile, and a superior crumb texture. A critical determinant of quality is the maturity of the starter—**the longer it has been cultivated, the more it enhances the final bake**, contributing to improved rise, a complex flavor spectrum, and a longer shelf life. Additionally, such bread offers sustained satiety due to its higher fiber content and exhibits a denser structure compared to commercially leavened varieties. The production process is divided into two essential stages: the first involves preparing a **pre-fermented poolish (or *levain*)**, while the second encompasses mixing and proofing the **final dough**. The poolish serves as a pre-fermented portion of the dough, subjected to controlled fermentation for approximately **8 hours**, which significantly accelerates the subsequent acidification of the entire mixture. **Poolish ingredients**: **60 grams of active sourdough starter**, **90 grams of whole-grain flour** (recommended: **rye, spelt, or type 2000 whole wheat**), and **90 milliliters of lukewarm water**. The initial step requires thoroughly combining these components, then allowing the mixture to rest at room temperature, covered (e.g., with a clean linen cloth), for roughly **8 hours**—until the poolish expands visibly and develops a tangy, slightly effervescent aroma. The next phase involves preparing the **main dough**, which consists of: **the matured poolish**, **280 milliliters of water**, **300 grams of whole-grain flour** (identical to the previous type), **a pinch of sea salt**, **one teaspoon of unrefined cane sugar** (optional, to enhance caramelization), and **customizable flavor enhancers**, such as **sunflower seeds, sesame, flaxseeds, or rolled oats**. The dough should be kneaded until smooth, transferred to a greased **20-centimeter round baking pan**, covered, and left to proof for **2–5 hours**, or until it doubles in volume. Baking commences in a preheated **230°C (446°F) oven** for **15 minutes**, followed by a temperature reduction to **200°C (392°F)** for an additional **35–40 minutes**, or until the crust achieves a deep golden-brown hue. **Critical note**: The loaf must cool **completely** (at least **2 hours**) before slicing to prevent moisture retention within the crumb and to ensure an optimal texture.
A comprehensive step-by-step guide: how to cultivate homemade sourdough starter
Cultivating an authentic sourdough starter at home is a straightforward yet methodical process that rewards patience and attention to detail. By doing so, you ensure that all ingredients meet the highest nutritional standards, resulting in bread that is not only flavorful but also rich in essential nutrients. It is advisable to begin preparations several days in advance, as a longer fermentation period enhances the starter’s depth of flavor and its beneficial properties for bread texture. The fundamental components required are whole-grain rye flour with a high extraction rate (type 2000) and pure water. The process commences by combining half a cup of flour with an equal volume of water in a tall, opaque container, then allowing the mixture to rest for 24 hours. Subsequently, for a period of five to seven days, one must daily add one-third of a cup of flour along with the same amount of water, thoroughly stirring each time. The starter is deemed ready when distinctive bubbles form on the surface and a mildly tangy, fermented aroma develops. Once prepared, the starter can be stored in the refrigerator, provided it is "fed" periodically—every few days—with fresh flour and water. While baking homemade bread may initially seem daunting, it ultimately demands only basic culinary skills and adherence to simple guidelines. Critical factors include using ingredients at room temperature and ensuring their freshness. Even if the first attempt falls short of expectations, persistence is key—each subsequent effort yields improved results, and practice invariably leads to mastery.

Oliwia Kaczmarek
✓Diets Premium Expert
Diets Premium team expert. Specializes in nutrition plans, strength sports, and training plans.
View Profile →