Comprehensive Guide to Blood Glucose Meters: Electrochemical Biosensors, Testing Technique, and Device Selection
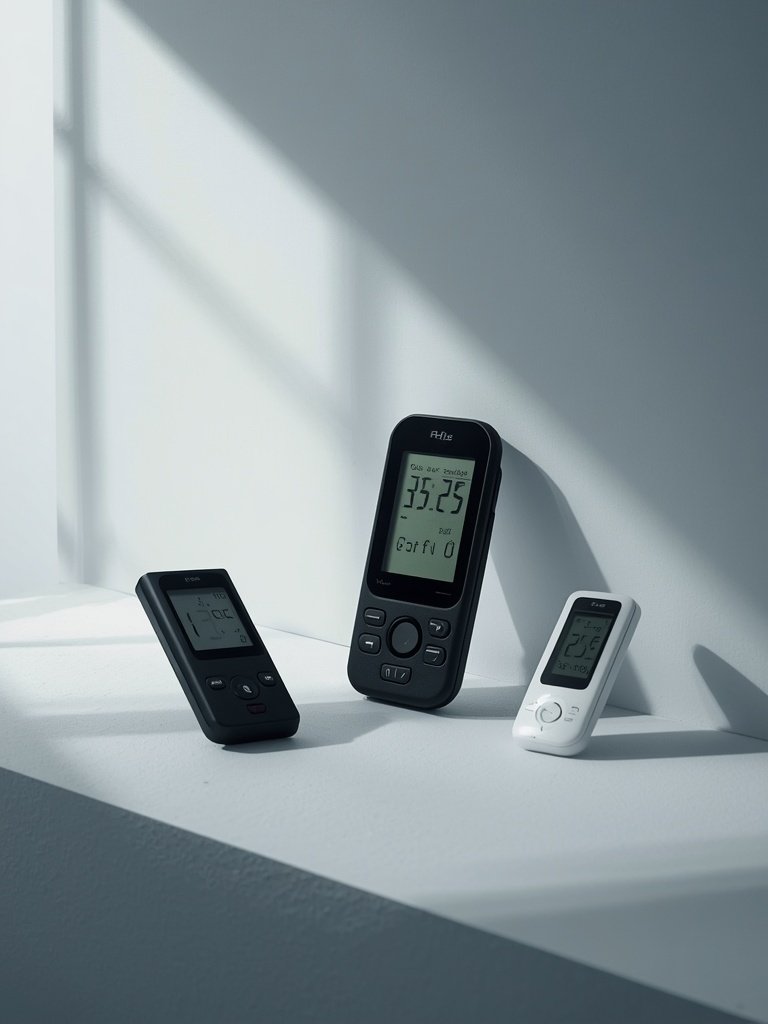
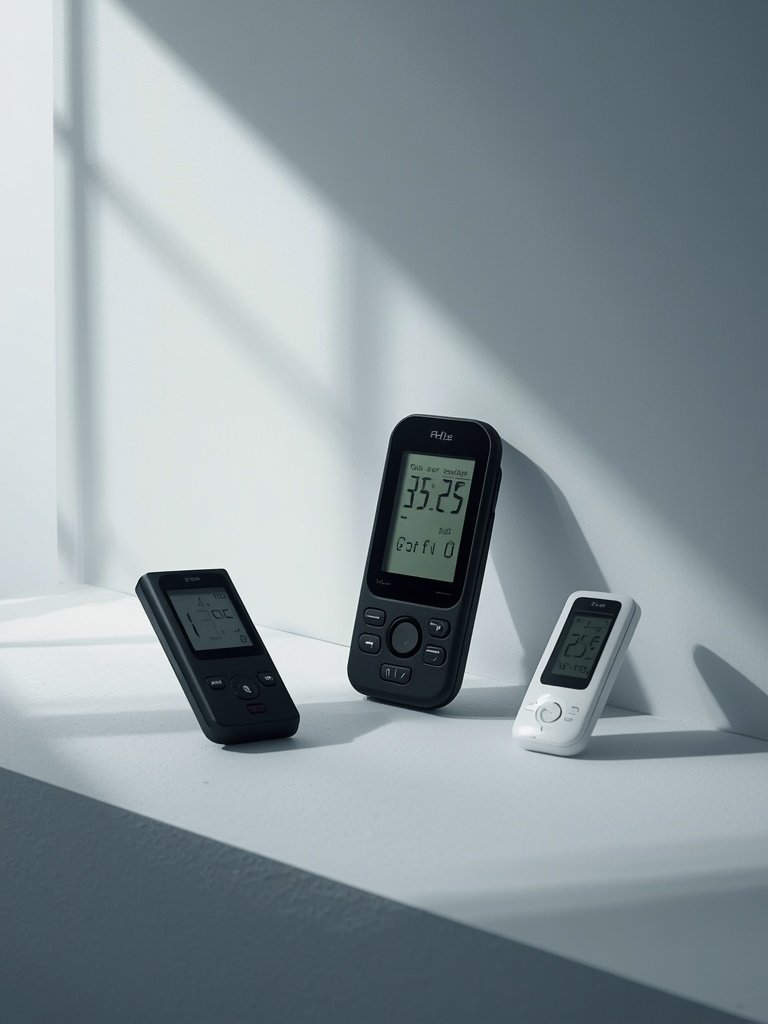
Table of Contents 4
A blood glucose meter (glucometer) is a compact, point-of-care medical device designed for self-monitoring of blood glucose (SMBG) utilizing capillary whole blood. It serves as an essential tool for patients managing type 1 diabetes, insulin-treated type 2 diabetes, gestational diabetes, and severe insulin resistance. How do electrochemical biosensors operate within test strips, what constitute standard clinical glycemic targets, and which pre-analytical errors must be eliminated during capillary sampling?
Glucometer Classifications: Photometric vs Electrochemical Biosensors
Modern glucometers are sophisticated, miniaturized biosensing instruments. While legacy devices relied on reflectance photometry (measuring enzymatic color shifts on reagent pads), contemporary devices exclusively utilize amperometric electrochemical biosensing. When a blood droplet enters the test strip capillary chamber, glucose reacts with an immobilized enzyme—typically glucose oxidase (GOD) or glucose dehydrogenase (GDH)—producing gluconolactone and transferring electrons to an electrode mediator. The resulting microcurrent is directly proportional to blood glucose concentration, calibrated by device microprocessors to standard plasma-equivalent glucose values.
Diagnostic Glycemic Reference Ranges and Target Goals
According to international clinical standards (ADA/EASD), normal fasting plasma glucose in healthy individuals ranges between 70 and 99 mg/dL (3.9–5.5 mmol/L). Values spanning 100–125 mg/dL (5.6–6.9 mmol/L) delineate impaired fasting glucose (prediabetes), whereas confirmed fasting concentrations ≥126 mg/dL (≥7.0 mmol/L) establish a diagnosis of diabetes mellitus. Postprandial glucose measured 2 hours following a meal should remain below 140 mg/dL (7.8 mmol/L) in non-diabetic populations. For established diabetic patients, clinical targets generally aim for 80–130 mg/dL preprandially and peak postprandial levels below 180 mg/dL.
Step-by-Step Capillary Blood Sampling Technique
Measurement precision necessitates rigorous adherence to pre-analytical protocols: 1. Hand hygiene: Wash hands thoroughly with warm water and plain soap, drying completely. Avoid alcohol swabs or wet wipes, as evaporative residues and glycerin severely skew enzymatic readings; 2. Puncture site: Position the lancing device against the lateral side of the fingertip, which features fewer sensory nerve endings and superior vascular perfusion; 3. The first drop rule: Gently wipe away the initial blood droplet with dry gauze; collect the second spontaneously forming droplet onto the test strip. Never aggressively squeeze the finger, as interstitial fluid contaminates the sample and falsely dilutes glucose values; 4. Capillary filling: Allow the strip to draw the blood droplet automatically via capillary action.
Test Strips, Lancets, Quality Control, and Accessory Storage
Test strips contain labile protein enzymes requiring strict environmental control: they must remain in their original desiccated container at room temperature (15–30°C), shielded from direct sunlight and ambient humidity. Never utilize expired strips or store them in bathrooms. Lancets are strictly single-use disposables; repeated puncture dulls the micro-beveled needle tip, inducing tissue micro-trauma, scarring, unnecessary pain, and infection risk. Periodically, device accuracy should be verified using standardized manufacturer control solutions or by cross-referencing glucometer readings with a simultaneous venous laboratory blood draw.
Want to apply these guidelines in your daily diet?
Our smart diet generator creates a tailored meal plan in 3 minutes based on the recommendations in this article.
Tags

Laura Schneider
Diets Premium Expert
Diets Premium team expert. Specializes in nutrition plans, strength sports, and training plans.